

Customising the global site settings
Customising The Site
Styles
In the left hand panel of the main WordPress dashboard, go to Appearance and then Editor. From here select Styles in the Editor left hand Sidebar.
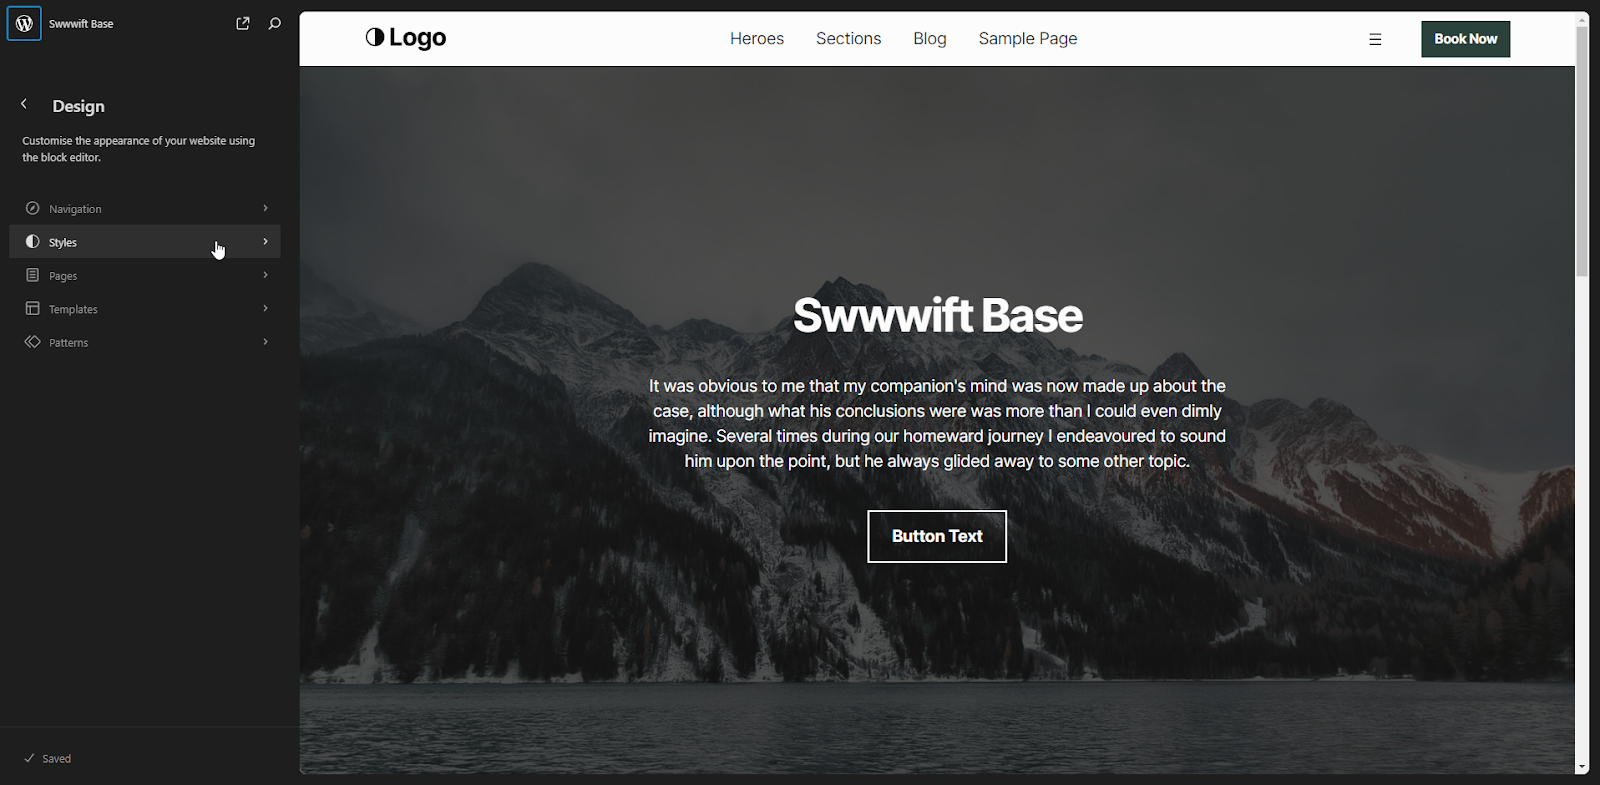
You’ll now see the Home Page previewed in the main panel and the Styles sidebar on the right. Generally you don’t want to edit content in the Editor so we’ll click on the eye icon in the top right to open the Style Book

Fonts
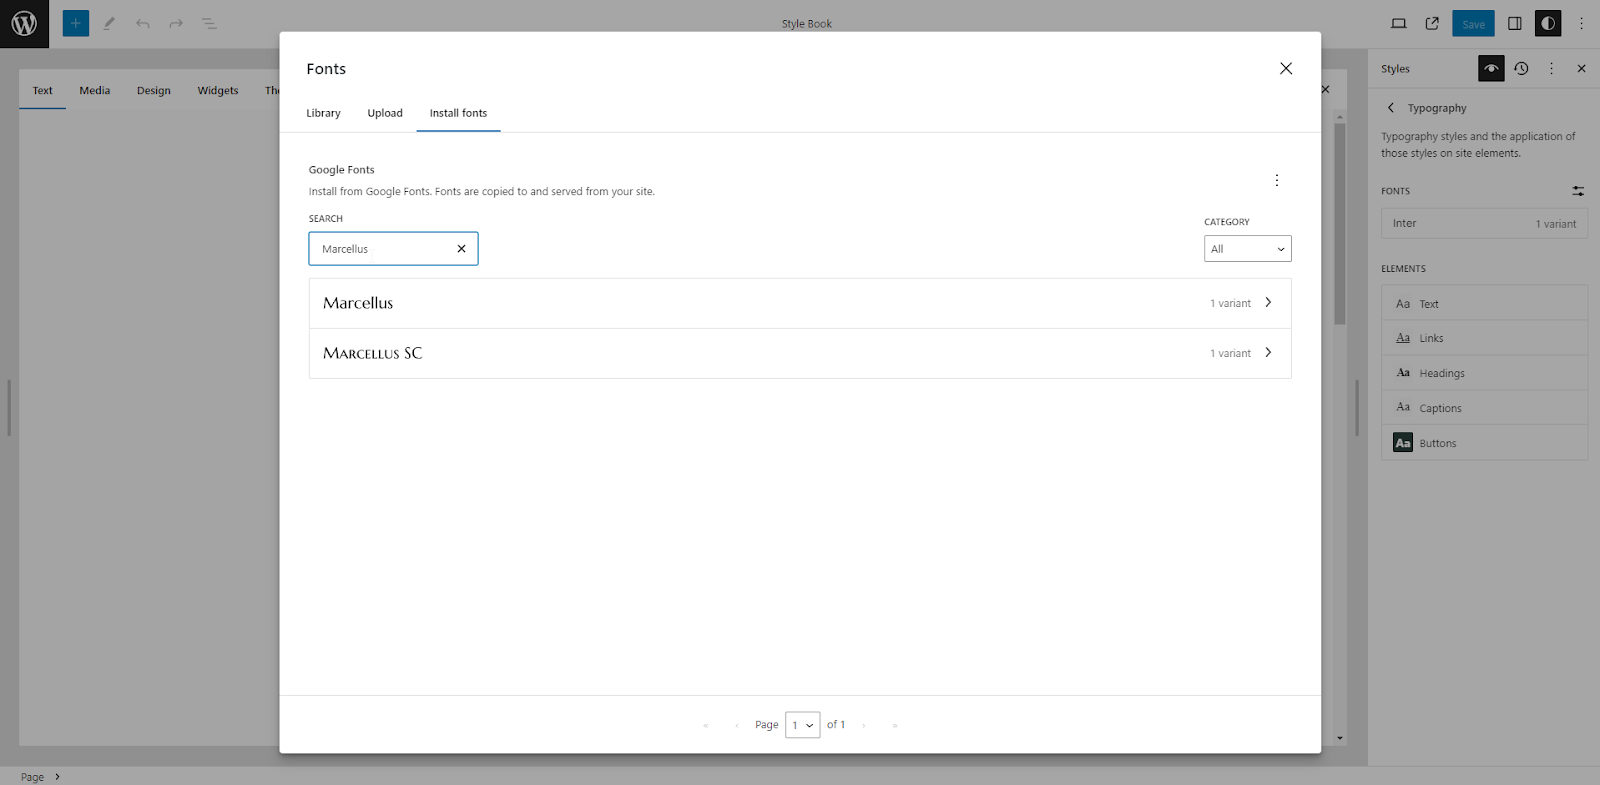
Now click on Typography and then Fonts. Using this dialog you can navigate to Install Fonts and add any Google font you wish. Repeat this step as many times as required for all the fonts you want to use on the site.
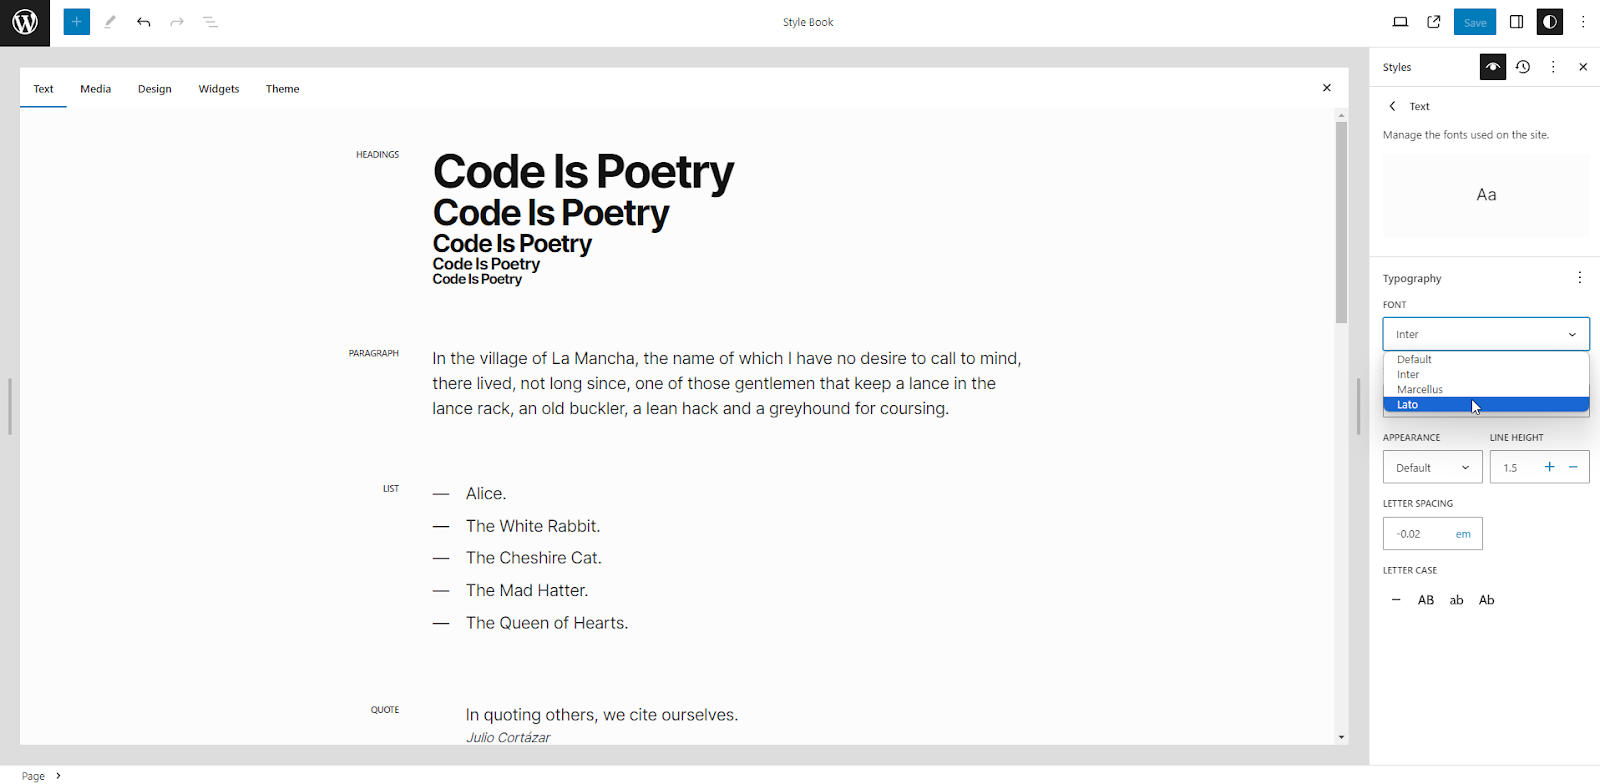
In the right hand sidebar, click on Text to set the body font and weight (under Appearance). You can also set the line height and letter spacing here. With regards to letter spacing, it will be set using the “em” unit by default. This means the spacing will be proportional to the size of the text itself. It is advised that you keep using em units for letter spacing with a value generally between +/- 0.02 and 0.05. Repeat this step for Headings/Links et cetera.
Colours
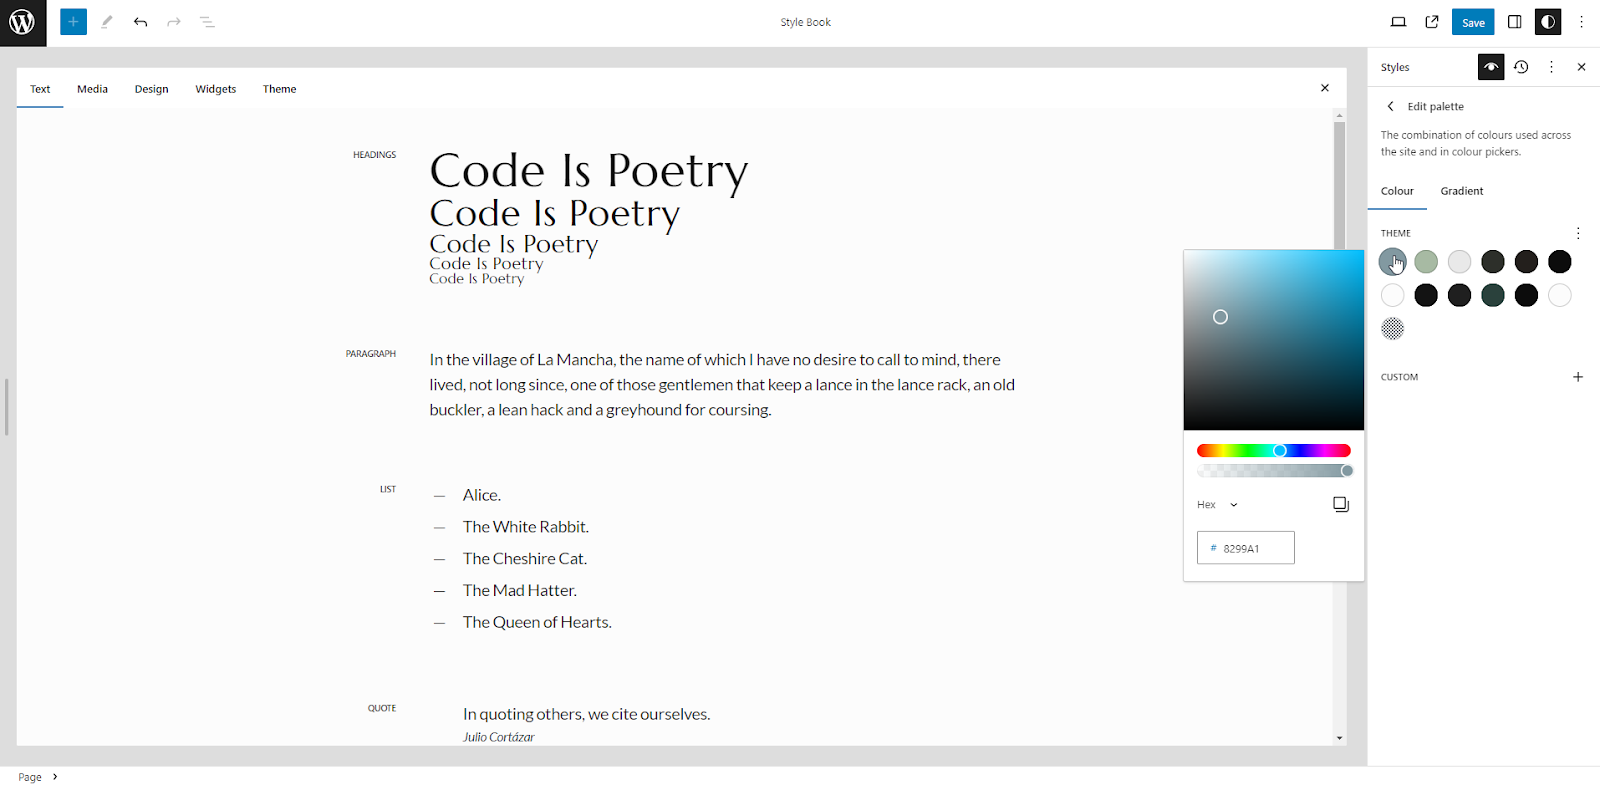
Click on the left angle icon to go back to the Styles Overview and then select Colours > Palette. From here replace the default colours with your own. You can also take this opportunity to hit the blue Save button in the top right hand corner.
Layout
If you click the left angle icon to go back from Colours you'll see the Layout section underneath. The options for the standard content and wide widths are being overwritten by CSS so changing them here won’t make any difference. You can add padding or block spacing here but it might break the layouts of some of the pre-built patterns so it’s probably best to leave it as is.

Block Default Styles
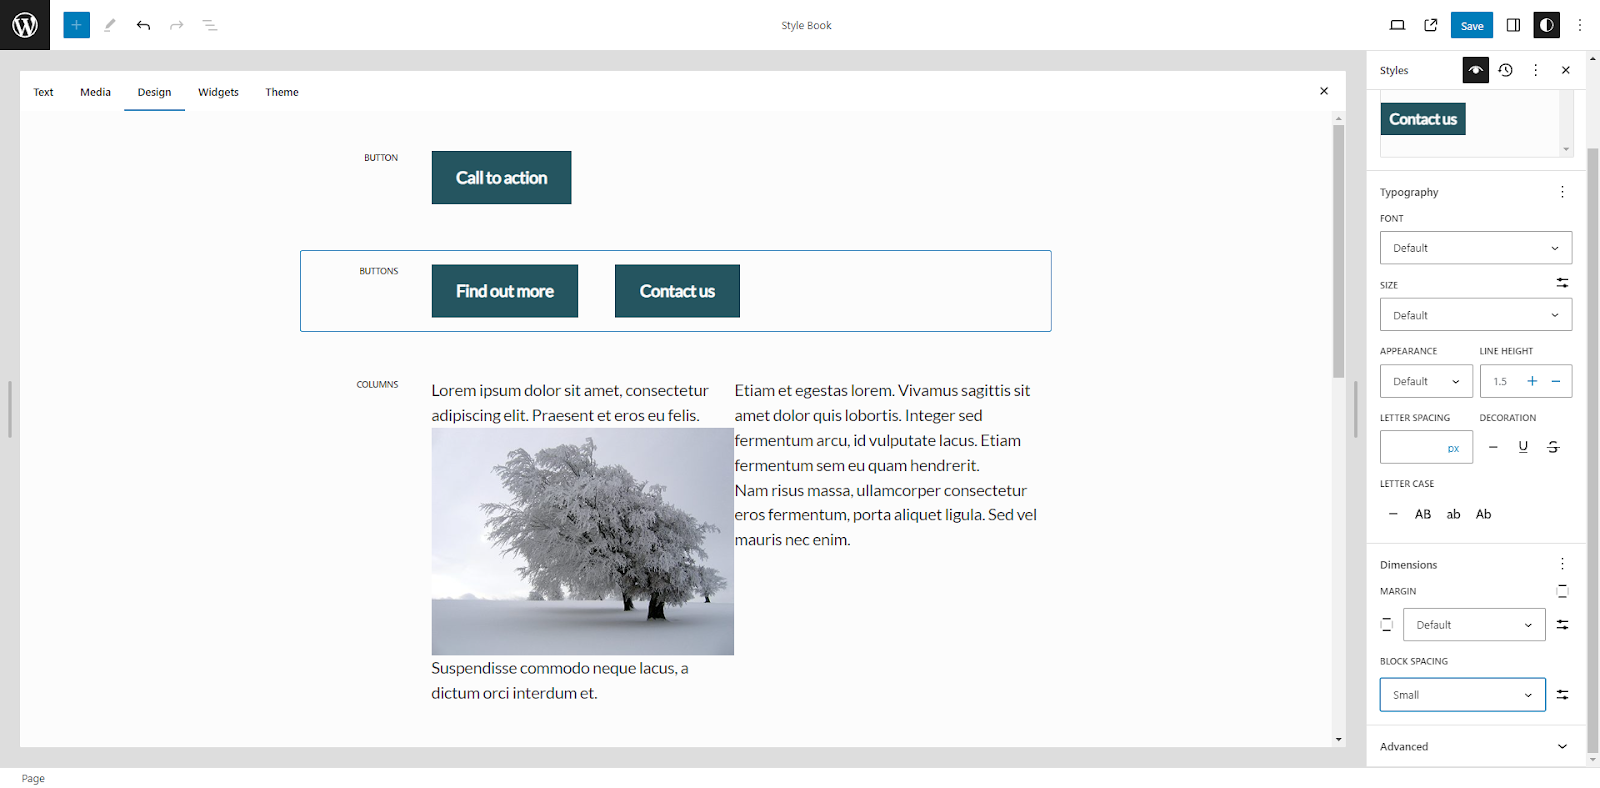
If you come out of the Layout tab then you’ll notice an option at the bottom for Blocks where you can set the global defaults for those blocks across the site.
For example, if you select Buttons from the list (I’ve also selected the Design tab in the main panel so you can see the effect of the change) we can set the Block Spacing to Small. Now all Buttons blocks will have that spacing by default. You can then set any defaults you like for any other blocks but sadly at time of recording you can’t edit the defaults for Row, Stack or Grid blocks from here.
Button Block
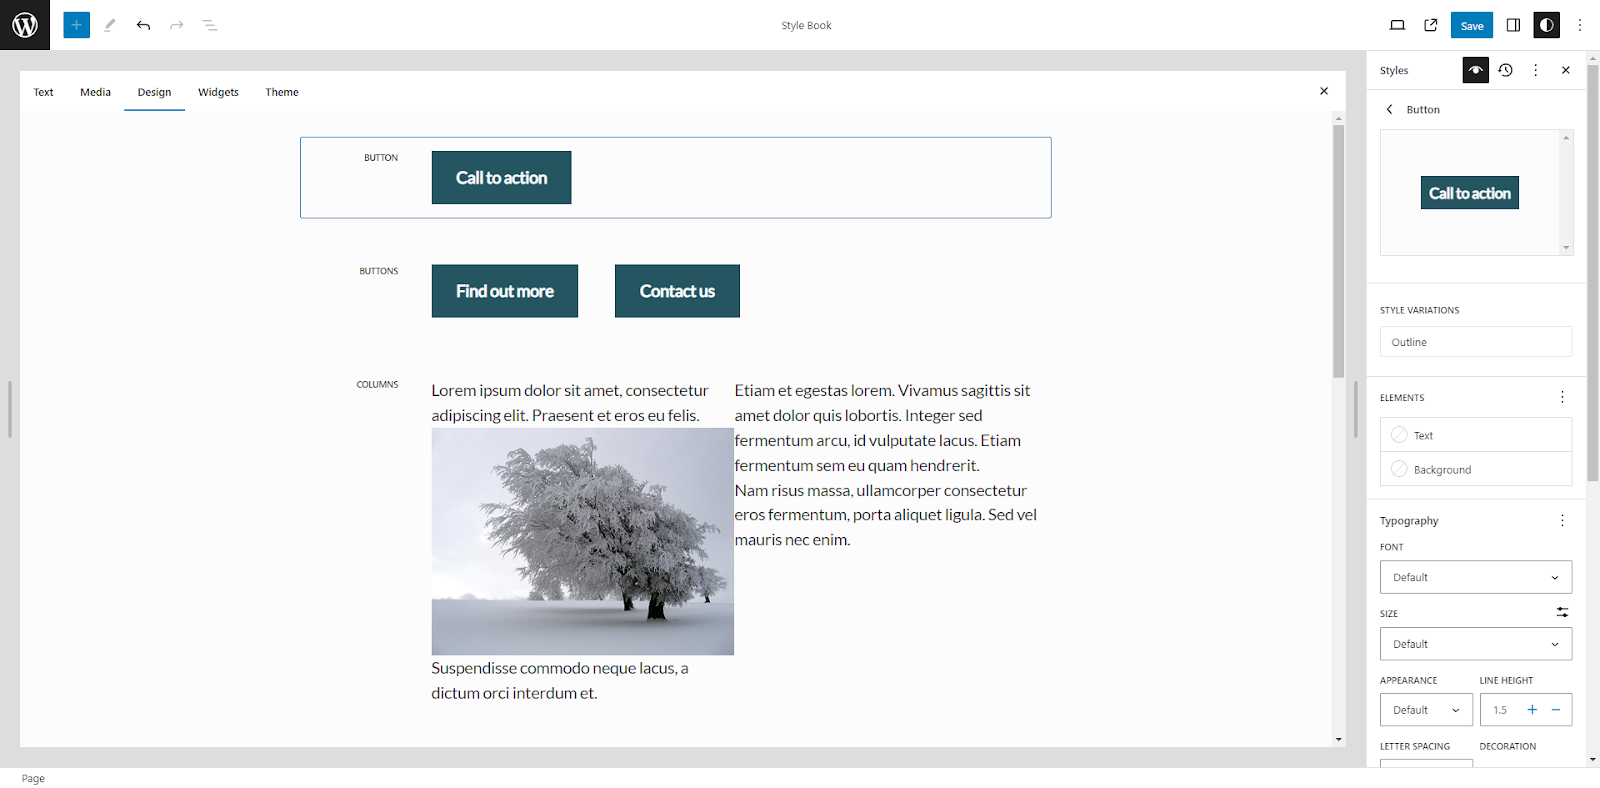
With the Design tab in the main panel open, click on Button. By default, the background colour will be Accent, the text colour will be Light and there will be a 2px border in the Accent colour as well (although these won’t show up in the sidebar unless you set them again).
The border is there so that when you have a regular button and an Outline style button together (click on Outline under Style Variations in the right sidebar to see its options) then they’ll be the same height as they both have the same padding and a border of 2px.
The Outline button is set up so that it inherits its font and border colour from its parent’s text colour so it’s probably better to leave its settings as is.
When you’re done updating your styles, click the WordPress icon in the top left to return to the editor overview.